Oracle 10g Free Training - Sequences
In this tutorial you will learn about Sequences, Creating Sequences, Altering Sequences, Using Sequences and Dropping Sequences
- Referencing a Sequence, Generating Sequence Numbers with NEXTVAL and Using Sequence Numbers with CURRVAL.
- Caching Sequence Numbers, the Number of Entries in the Sequence Cache and the Number of Values in Each Sequence Cache Entry.
Sequences
This section describes aspects of managing sequences, and contains the following topics:
- About Sequences
- Creating Sequences
- Altering Sequences
- Using Sequences
- Dropping Sequences
About Sequences
Sequences are database objects from which multiple users can generate unique integers. The sequence generator generates sequential numbers, which can help to generate unique primary keys automatically, and to coordinate keys across multiple rows or tables.
Without sequences, sequential values can only be produced programmatically. A new primary key value can be obtained by selecting the most recently produced value and incrementing it. This method requires a lock during the transaction and causes multiple users to wait for the next value of the primary key; this waiting is known as serialization. If developers have such constructs in applications, then you should encourage the developers to replace them with access to sequences. Sequences eliminate serialization and improve the concurrency of an application.
Creating Sequences
To create a sequence in your schema, you must have the CREATE SEQUENCE system privilege. To create a sequence in another user's schema, you must have the CREATE ANY SEQUENCE privilege.
Create a sequence using the CREATE SEQUENCE statement. For example, the following statement creates a sequence used to generate employee numbers for the empno column of the emp table:
CREATE SEQUENCE emp_sequence
INCREMENT BY 1
START WITH 1
NOMAXVALUE
NOCYCLE
CACHE 10;
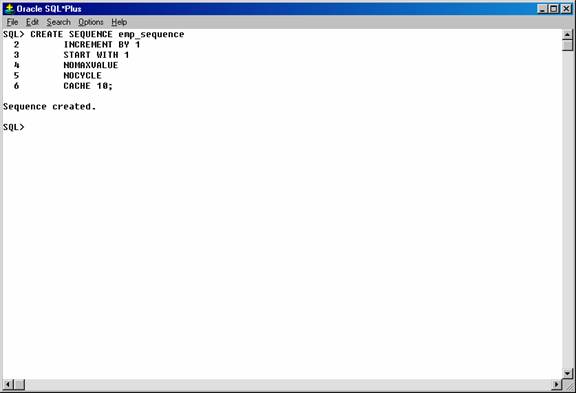
Figure 20. Creating a sequence.
Notice that several parameters can be specified to control the function of sequences. You can use these parameters to indicate whether the sequence is ascending or descending, the starting point of the sequence, the minimum and maximum values, and the interval between sequence values. The NOCYCLE option indicates that the sequence cannot generate more values after reaching its maximum or minimum value.
The CACHE clause preallocates a set of sequence numbers and keeps them in memory so that sequence numbers can be accessed faster. When the last of the sequence numbers in the cache has been used, the database reads another set of numbers into the cache.
The database might skip sequence numbers if you choose to cache a set of sequence numbers. For example, when an instance abnormally shuts down (for example, when an instance failure occurs or a SHUTDOWN ABORT statement is issued), sequence numbers that have been cached but not used are lost. Also, sequence numbers that have been used but not saved are lost as well. The database might also skip cached sequence numbers after an export and import.
Altering Sequences
To alter a sequence, your schema must contain the sequence, or you must have the ALTER ANY SEQUENCE system privilege. You can alter a sequence to change any of the parameters that define how it generates sequence numbers except the sequence starting number. To change the starting point of a sequence, drop the sequence and then re-create it.
Alter a sequence using the ALTER SEQUENCE statement. For example, the following statement alters the emp_sequence:
ALTER SEQUENCE emp_sequence
INCREMENT BY 10
MAXVALUE 10000
CYCLE
CACHE 20;
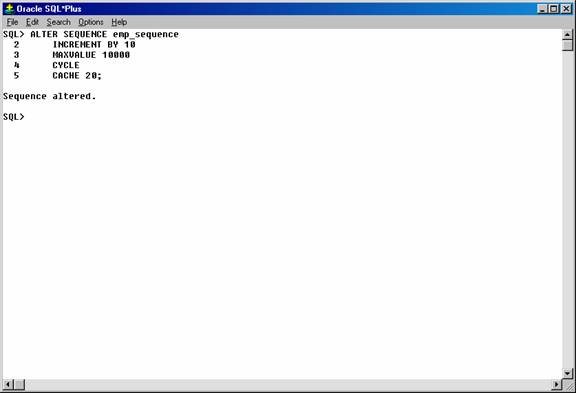
Figure 21. Altering a sequence.
Using Sequences
To use a sequence, your schema must contain the sequence or you must have been granted the SELECT object privilege for another user's sequence. Once a sequence is defined, it can be accessed and incremented by multiple users (who have SELECT object privilege for the schema containing the sequence) with no waiting. The database does not wait for a transaction that has incremented a sequence to complete before that sequence can be incremented again.
The examples outlined in the following sections show how sequences can be used in master/detail table relationships. Assume an order entry system is partially comprised of two tables, orders_tab (master table) and line_items_tab (detail table), that hold information about customer orders. A sequence named order_seq is defined by the following statement:
CREATE SEQUENCE Order_seq
START WITH 1
INCREMENT BY 1
NOMAXVALUE
NOCYCLE
CACHE 20;
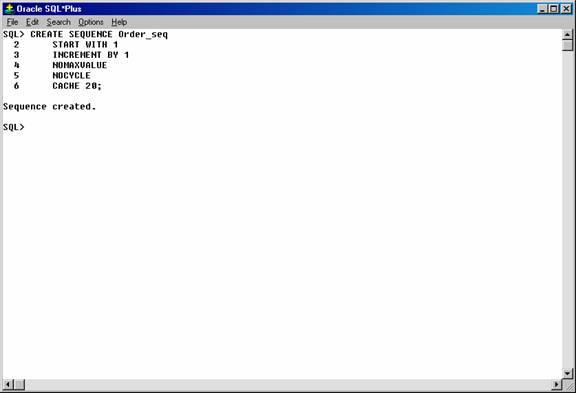
Figure 22. Creating the “ORDER_SEQ” sequence.
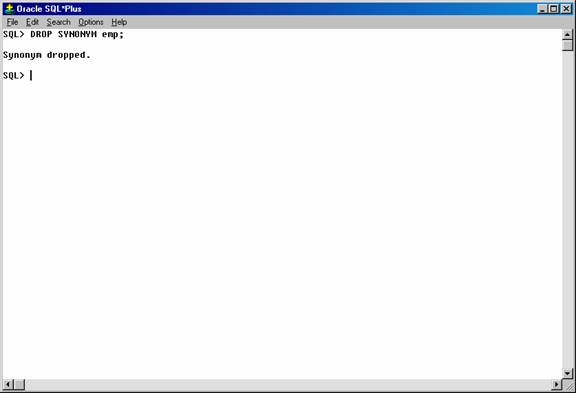
Dropping Sequences
You can drop any sequence in your schema. To drop a sequence in another schema, you must have the DROP ANY SEQUENCE system privilege. If a sequence is no longer required, you can drop the sequence using the DROP SEQUENCE statement. For example, the following statement drops the order_seq sequence:
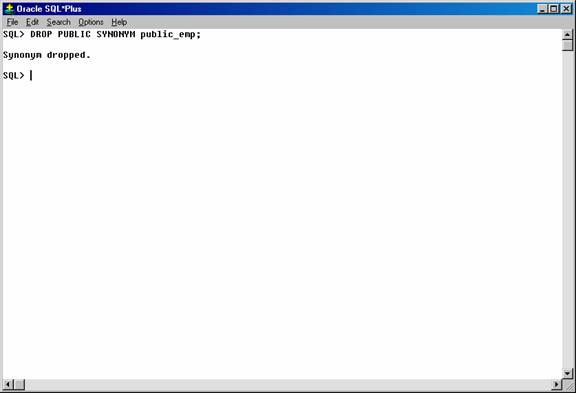
DROP SEQUENCE order_seq;
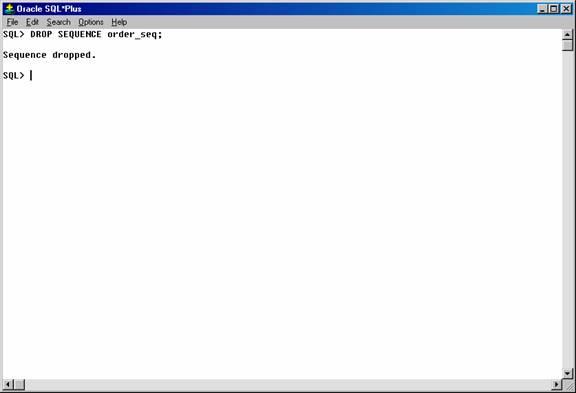
Figure 28. Dropping the sequence.
When a sequence is dropped, its definition is removed from the data dictionary. Any synonyms for the sequence remain, but return an error when referenced.
Referencing a Sequence
A sequence is referenced in SQL statements with the NEXTVAL and CURRVAL pseudocolumns; each new sequence number is generated by a reference to the sequence pseudocolumn NEXTVAL, while the current sequence number can be repeatedly referenced using the pseudo-column CURRVAL.
NEXTVAL and CURRVAL are not reserved words or keywords and can be used as pseudocolumn names in SQL statements such as SELECT, INSERT, or UPDATE.
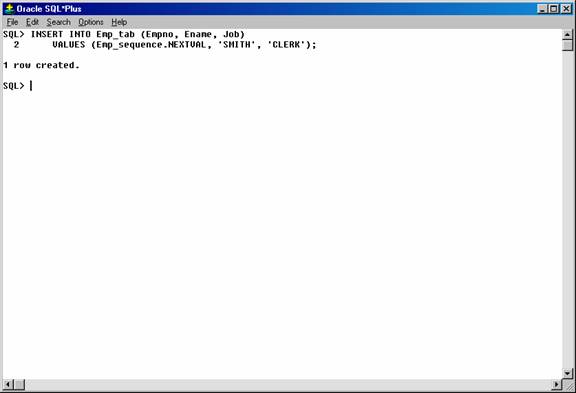
Generating Sequence Numbers with NEXTVAL
To generate and use a sequence number, reference seq_name.NEXTVAL. For example, assume a customer places an order. The sequence number can be referenced in a values list. For example:
INSERT INTO Orders_tab (Orderno, Custno)
VALUES (Order_seq.NEXTVAL, 1032);
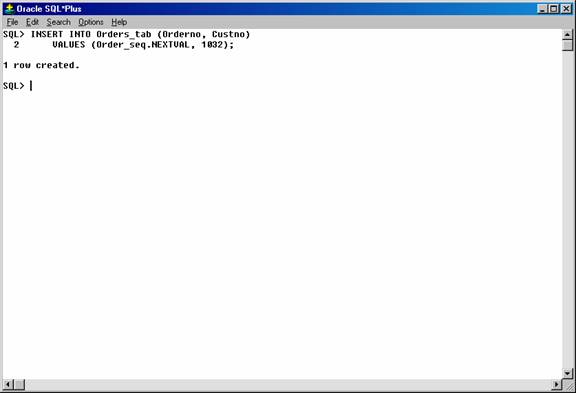
Figure 23. Inserting values in the “Orders_tab” using the “Order_seq” sequence.
Or, the sequence number can be referenced in the SET clause of an UPDATE statement. For example:
UPDATE Orders_tab
SET Orderno = Order_seq.NEXTVAL
WHERE Orderno = 10112;
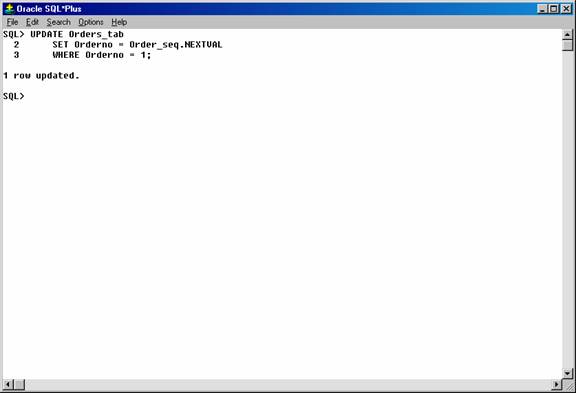
Figure 24. Updating the “Orders_tab” table using the “Order_seq” sequence.
The sequence number can also be referenced outermost SELECT of a query or subquery. For example:
SELECT Order_seq.NEXTVAL FROM dual;
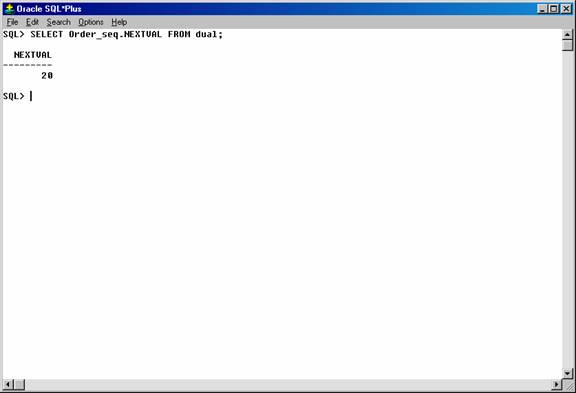
Figure 25. Selecting the current value of sequence.
As defined, the first reference to order_seq.NEXTVAL returns the value 1. Each subsequent statement that references order_seq.NEXTVAL generates the next sequence number (2, 3, 4,. . .). The pseudo-column NEXTVAL can be used to generate as many new sequence numbers as necessary. However, only a single sequence number can be generated for each row. In other words, if NEXTVAL is referenced more than once in a single statement, then the first reference generates the next number, and all subsequent references in the statement return the same number.
Once a sequence number is generated, the sequence number is available only to the session that generated the number. Independent of transactions committing or rolling back, other users referencing order_seq.NEXTVAL obtain unique values. If two users are accessing the same sequence concurrently, then the sequence numbers each user receives might have gaps because sequence numbers are also being generated by the other user.
Using Sequence Numbers with CURRVAL
To use or refer to the current sequence value of your session, reference seq_name.CURRVAL. CURRVAL can only be used if seq_name.NEXTVAL has been referenced in the current user session (in the current or a previous transaction). CURRVAL can be referenced as many times as necessary, including multiple times within the same statement. The next sequence number is not generated until NEXTVAL is referenced. Continuing with the previous example, you would finish placing the customer's order by inserting the line items for the order:
INSERT INTO Line_items_tab (Orderno, Partno, Quantity)
VALUES (Order_seq.CURRVAL, 20321, 3);
INSERT INTO Line_items_tab (Orderno, Partno, Quantity)
VALUES (Order_seq.CURRVAL, 29374, 1);
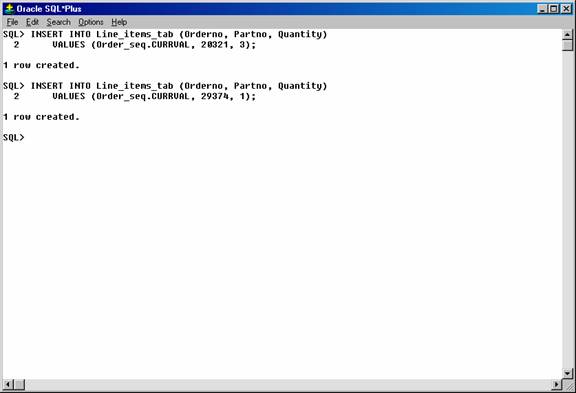
Figure 26. Using CURRVAL to insert data in the table.
Assuming the INSERT statement given in the previous section generated a new sequence number of 347, both rows inserted by the statements in this section insert rows with order numbers of 347.
Uses and Restrictions of NEXTVAL and CURRVAL
CURRVAL and NEXTVAL can be used in the following places:
- VALUES clause of INSERT statements
- The SELECT list of a SELECT statement
- The SET clause of an UPDATE statement
CURRVAL and NEXTVAL cannot be used in these places:
- A subquery
- A view query or materialized view query
- A SELECT statement with the DISTINCT operator
- A SELECT statement with a GROUP BY or ORDER BY clause
- A SELECT statement that is combined with another SELECT statement with the UNION, INTERSECT, or MINUS set operator
- The WHERE clause of a SELECT statement
- DEFAULT value of a column in a CREATE TABLE or ALTER TABLE statement
- The condition of a CHECK constraint
Caching Sequence Numbers
Sequence numbers can be kept in the sequence cache in the System Global Area (SGA). Sequence numbers can be accessed more quickly in the sequence cache than they can be read from disk.
The sequence cache consists of entries. Each entry can hold many sequence numbers for a single sequence.
Follow these guidelines for fast access to all sequence numbers:
- Be sure the sequence cache can hold all the sequences used concurrently by your applications.
- Increase the number of values for each sequence held in the sequence cache.
The Number of Entries in the Sequence Cache
When an application accesses a sequence in the sequence cache, the sequence numbers are read quickly. However, if an application accesses a sequence that is not in the cache, then the sequence must be read from disk to the cache before the sequence numbers are used.
If your applications use many sequences concurrently, then your sequence cache might not be large enough to hold all the sequences. In this case, access to sequence numbers might often require disk reads. For fast access to all sequences, be sure your cache has enough entries to hold all the sequences used concurrently by your applications.
The Number of Values in Each Sequence Cache Entry
When a sequence is read into the sequence cache, sequence values are generated and stored in a cache entry. These values can then be accessed quickly. The number of sequence values stored in the cache is determined by the CACHE parameter in the CREATE SEQUENCE statement. The default value for this parameter is 20.
This CREATE SEQUENCE statement creates the seq2 sequence so that 50 values of the sequence are stored in the SEQUENCE cache:
CREATE SEQUENCE Seq2
CACHE 50;
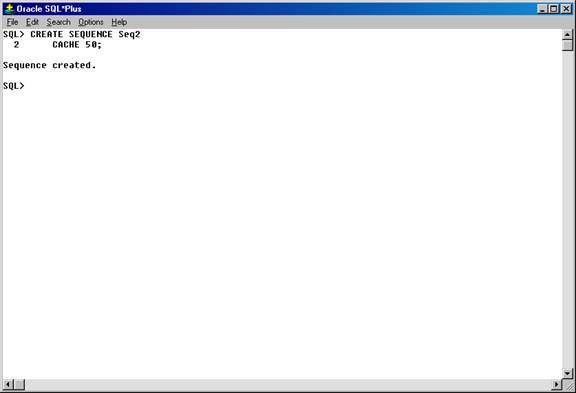
Figure 27. Creating a sequence.
The first 50 values of seq2 can then be read from the cache. When the 51st value is accessed, the next 50 values will be read from disk.
Choosing a high value for CACHE lets you access more successive sequence numbers with fewer reads from disk to the sequence cache. However, if there is an instance failure, then all sequence values in the cache are lost. Cached sequence numbers also could be skipped after an export and import if transactions continue to access the sequence numbers while the export is running.
If you use the NOCACHE option in the CREATE SEQUENCE statement, then the values of the sequence are not stored in the sequence cache. In this case, every access to the sequence requires a disk read. Such disk reads slow access to the sequence. This CREATE SEQUENCE statement creates the SEQ3 sequence so that its values are never stored in the cache:
CREATE SEQUENCE Seq3
NOCACHE;